Give me more datadisks
With lower tier VM’s in Azure you have a limit on how many data disk you can attach. As an example an A1 can only have 2 datadisks of 1 TB each attached. So if you just want to use Azure for storing a lot of data like backup you are kind of out of luck. You would either need to get a higher tier VM that allows for more datadisks or use a service like Azure Backup instead.
Let me give you one more option, Azure Files Shares.
Now, I hear a lot of you say; “you can’t use a share as a local disk”. And you would be correct, you can’t. Though let’s be a bit sneaky, and get around that limitation.
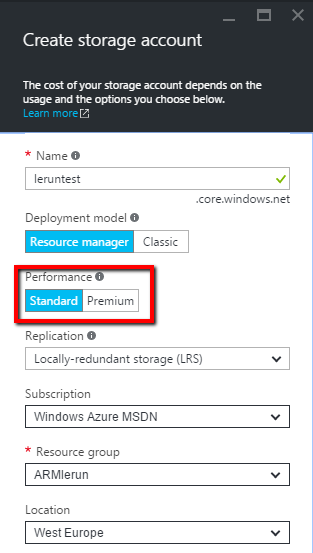
First create a storage account, for this scenario we are going for the cheapest one.
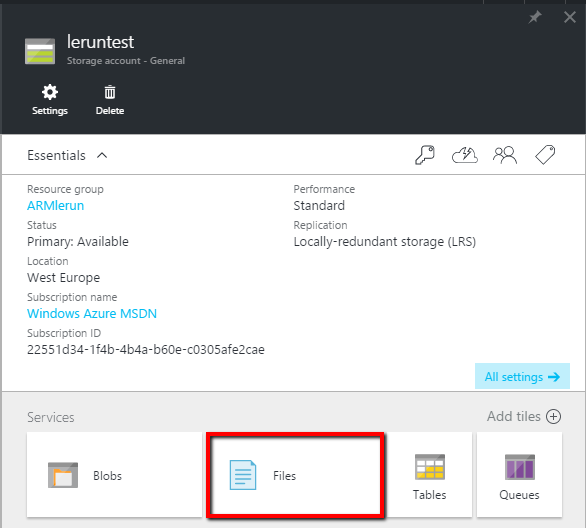
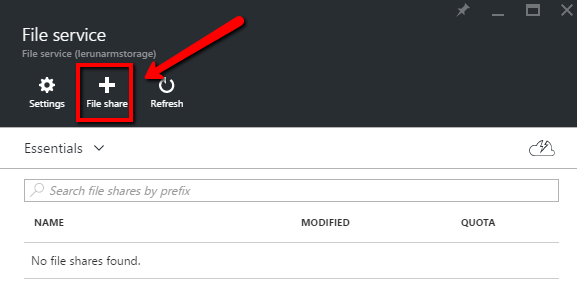
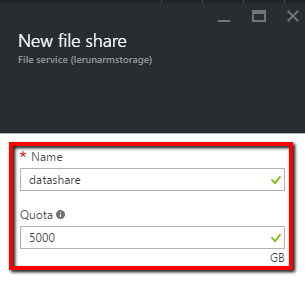
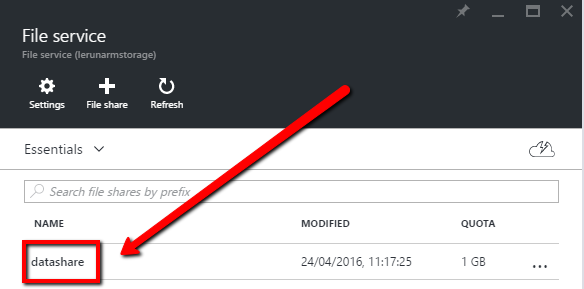
Once the account is up and running create the Azure File Share.

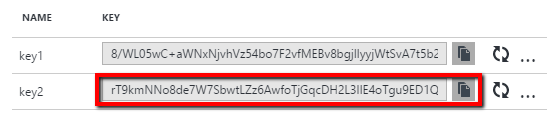
We need to grab the key of the storage account as this will be used as the password to access the share on the VM.
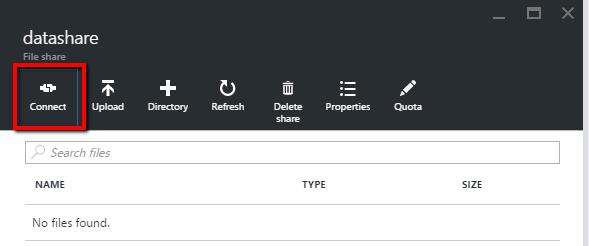
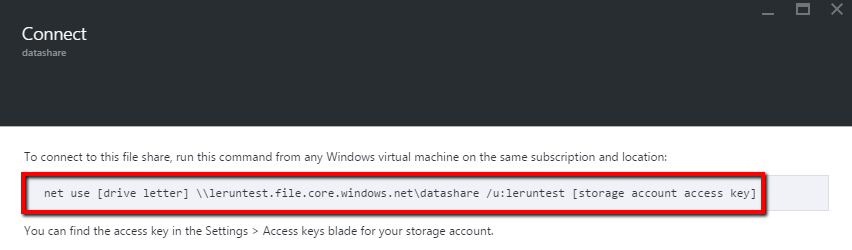
Grab the command line to use on the VM first time mounting the network share:
Net use X: \\leruntest.file.core.windows.net\datashare /u:leruntest <put storage key2 here>
Now jump to the VM, and mount the share using the command line shell. Once the share is connected start up Disk Management.
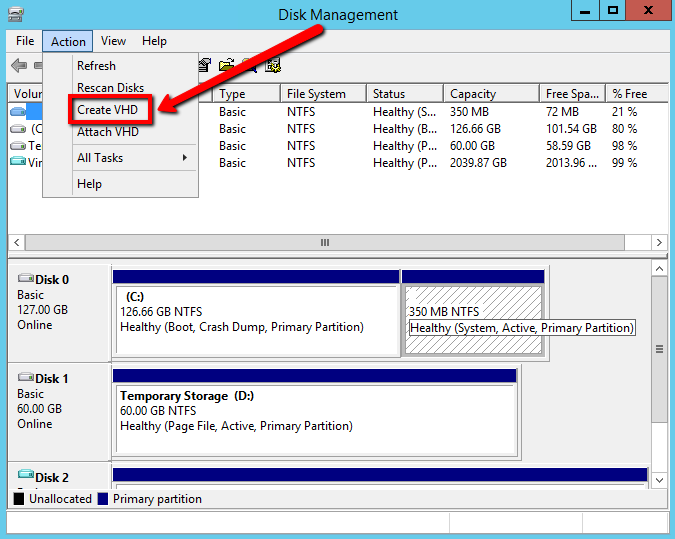
Target the VHD creation on the share using the URL from the mount command. Remember to name the vhd file, and set the size of the disk. 1 TB is the max size you can use. I’m using VHD format, just for support, as Azure only support that format. Also using dynamic disk, as it would take ages to create a fixed disk.

Next we need to initialize the disk, use GPT here.


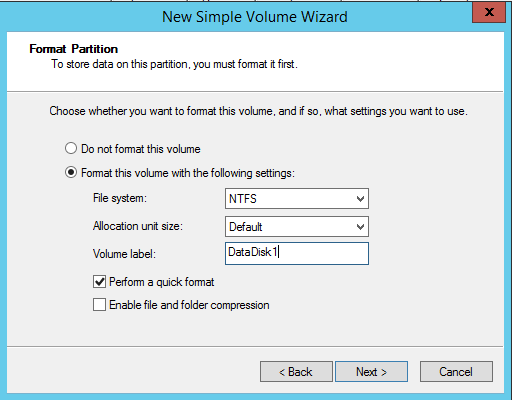
After the disk is online format it.
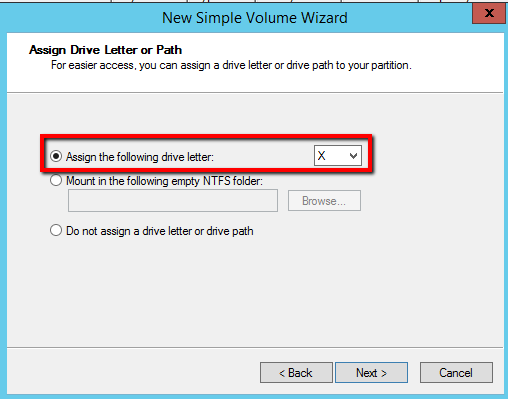
Choose the desired drive letter.
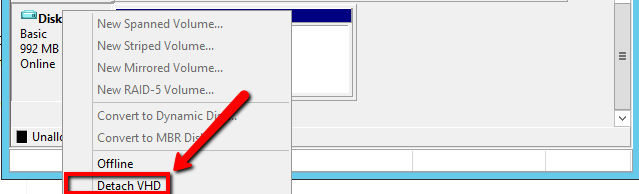
Once its finished formatting, check that you can access the disk. After that detach the VHD, we need this as we are going to use another way of auto mounting it.
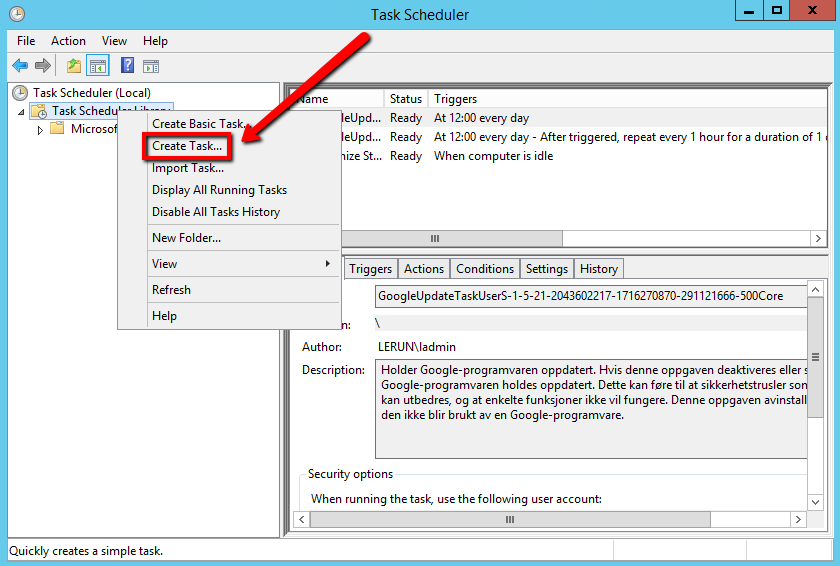
Next open up the Task Scheduler. Create a task and name it MountVHDatStartup.

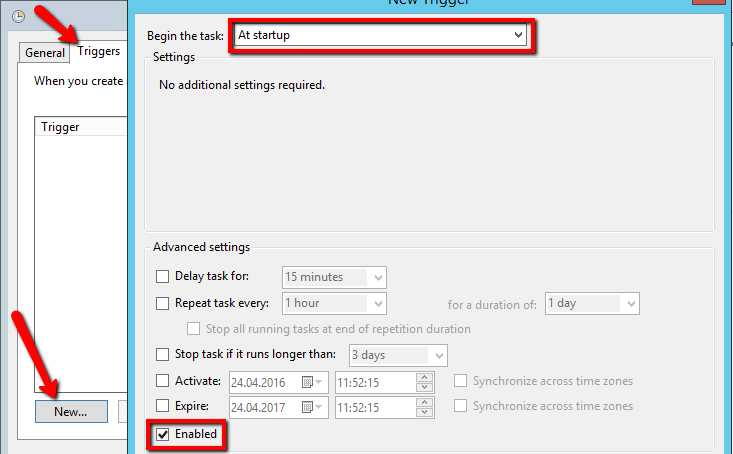
Go to the triggers pane and create a new trigger.
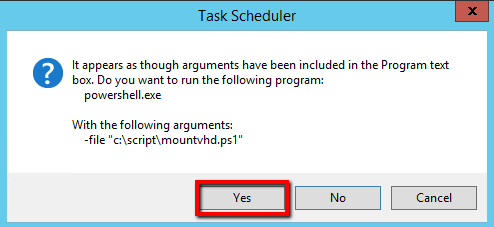
Then go to the Action pane and create a new action.
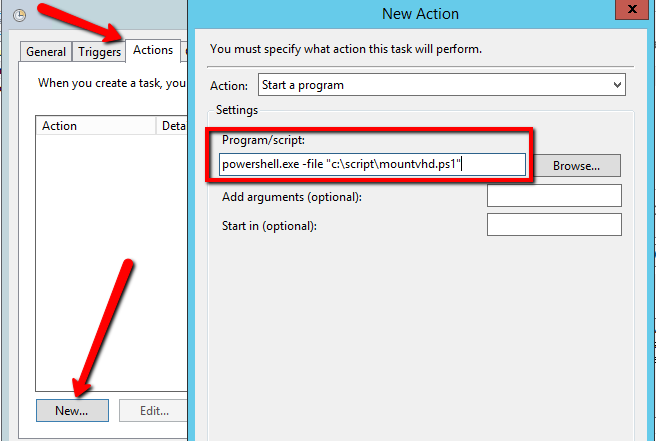

Next we will need to put the Powershell script in the same location as we used in the command line of the scheduled task. Create the folder c:\scripts and create a file with the name mountvhd.ps1
Add the following code:
1 2 3 4 5 6 7 8 9 10 11 12 13 14 15 16 17 18 | $Counter = 1 $Mounted = $False $Network = New-Object -ComObject WScript.Network Do { If(Test-Path -Path "X:\datadisk1.vhd") { Mount-DiskImage -ImagePath "X:\datadisk1.vhd" -StorageType VHD -ErrorAction SilentlyContinue -ErrorVariable oErr If(-not $oErr) { $Mounted = $True } } Else { If(-not (Test-Path -Path "X:\datadisk1.vhd")) { $Network.MapNetworkDrive('X:','\\leruntest.file.core.windows.net\datashare',$false,'leruntest',"thestoragekeygoeshere") } Start-Sleep -Seconds 10 $Counter++ } } While($counter -le 6 -and $Mounted -eq $False) |
A word on caution when it comes to performance, the table below shows the limitations Azure File Shares has put on them:
| Resource | Default Limit |
|---|---|
| Max size of file share | 5 TB |
| Max size of a file in a file share | 1 TB |
| Max 8 KB IOPS per share | 1000 |
| Target throughput for a single file share | Up to 60 MB per sec |
Here are some numbers from a A1 VM, showing the local OS-disk and the share mounted VHD disk.
OS-Disk:

Virtual Disk on share:

Thats it, hope someone finds this useful.